1. Get started in 5 minutes
Everything runs in your browser – there’s nothing to install and no account to create with us. Your data stays on your device (and, if you want, in your own Google Drive).
- 1Open the app and press Continue with Google. Your data is encrypted (AES-256) and opens on any device where you sign in with the same Google account. Prefer a user ID and password? That works too – or skip and add a login later in Settings → Security.
- 2Go to Settings → Business profiles and fill in your business name, address, GSTIN/VAT, bank details, logo, signature and stamp. Pick your business type.
- 3Add your first client (Clients → + New client) – or just type a new client while creating a quotation.
- 4Create a quotation from Quotations or an invoice with + New invoice, then download the PDF or send it on WhatsApp / email.
- 5Press Connect Google Drive (Settings → Data & backup) so the same data appears on your laptop, phone and every browser.
2. Business profile, stamp & signature
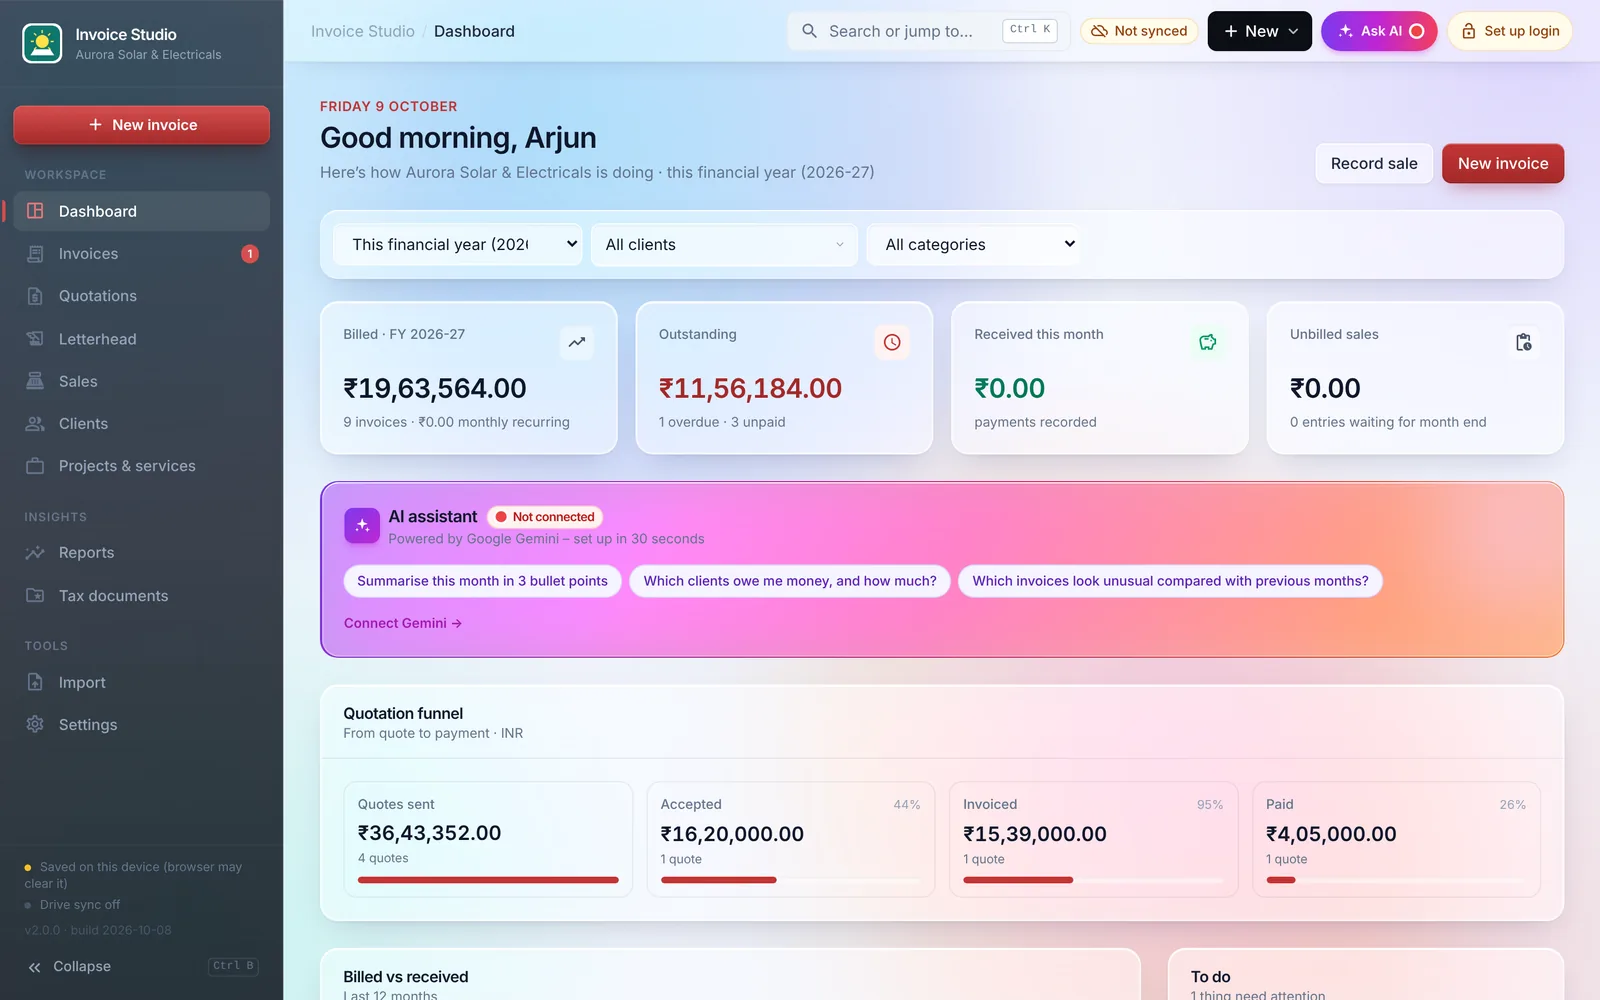
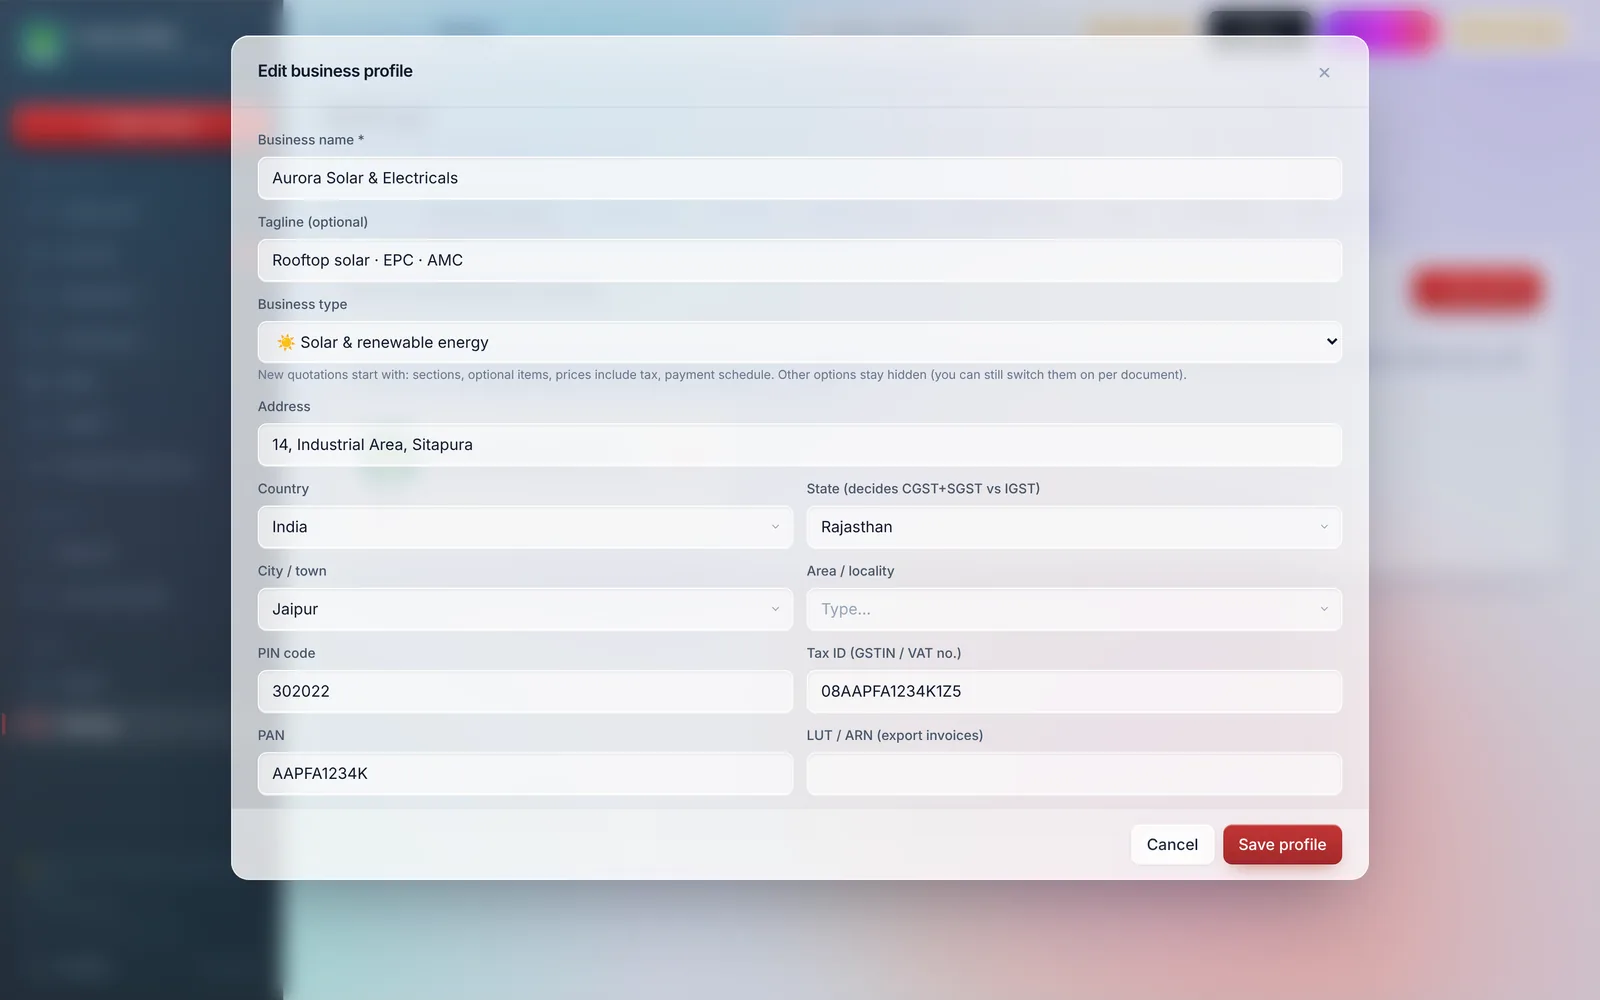
Everything on your documents – name, logo, colour, address, tax IDs, bank details, signature and stamp – comes from the business profile. Change it once and every quotation, invoice and letter uses it.
- 1Settings → Business profiles → Edit. Add more profiles if you trade under more than one name or GSTIN.
- 2Business type decides which quotation templates and options you see. An IT company gets milestones and optional add-ons; a solar EPC gets Supply / Installation sections, prices including GST and a 25/70/5 payment schedule. You can still switch any option on per document.
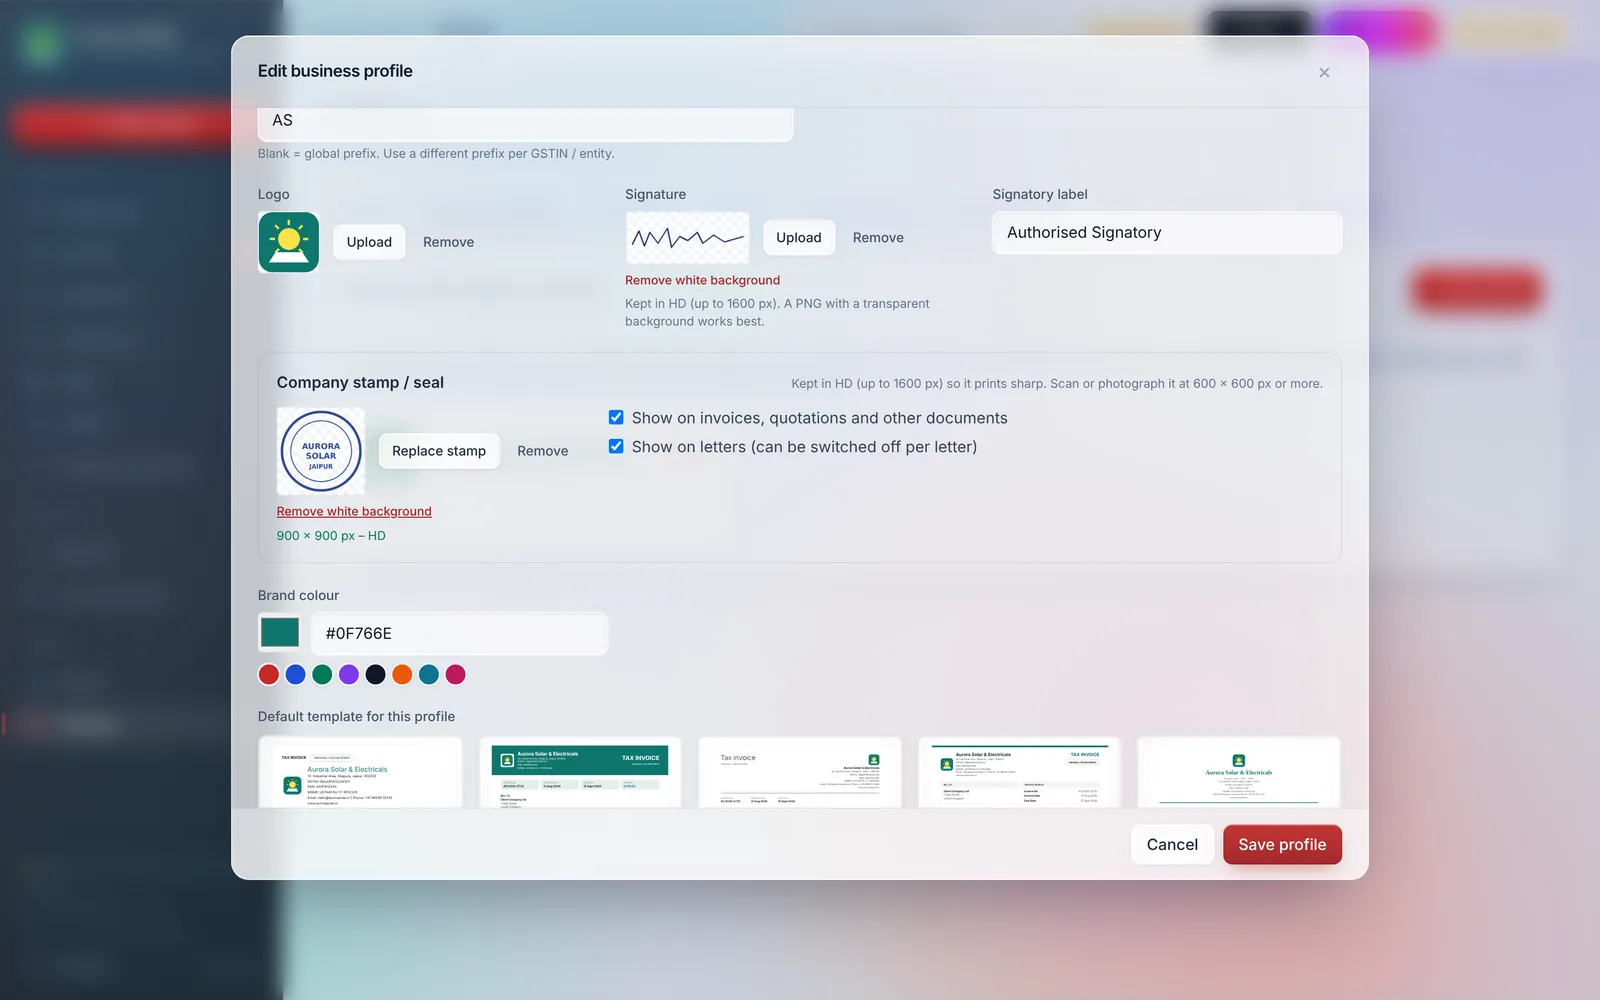
- 3Company stamp / seal: upload a scan or photo (600 × 600 px or larger). It is kept in HD (up to 1600 px). Tap Remove white background for a clean, transparent stamp. Choose whether it prints on invoices & quotations and on letters.
- 4Signature: also kept in HD, with the same background remover.
- 5Pick your brand colour, default document design and default letterhead.
3. Quotations
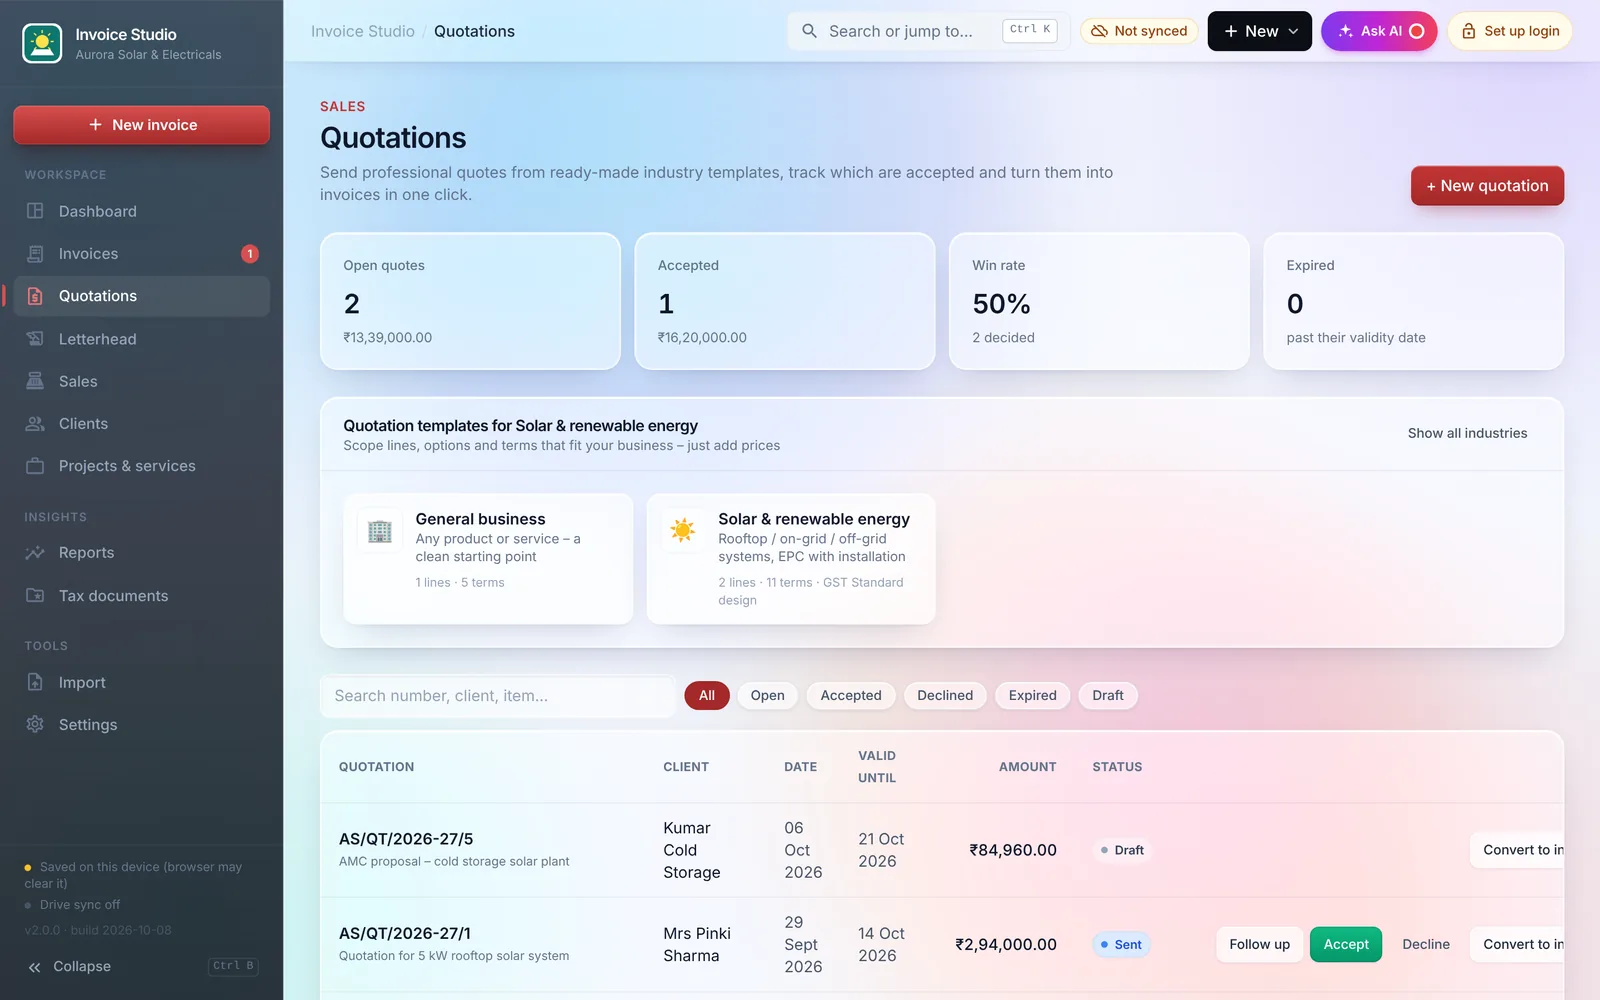
Start from a template made for your industry – the subject, typical scope lines, terms and options are filled in. Add your prices and send.
- 1Open Quotations. Templates for your business type appear first (“Show all industries” shows the rest).
- 2Pick one – e.g. Solar, IT & software, Construction, Interior, Trading, Events, Logistics, AMC, Consulting, Training or General.
- 3Choose the client, adjust lines and prices, and press Save & finalise (Ctrl + S).
- 4Track every quote: open, accepted, declined, expiring soon, and when you last followed up. Convert to invoice in one click – only the optional items the client chose are carried over.
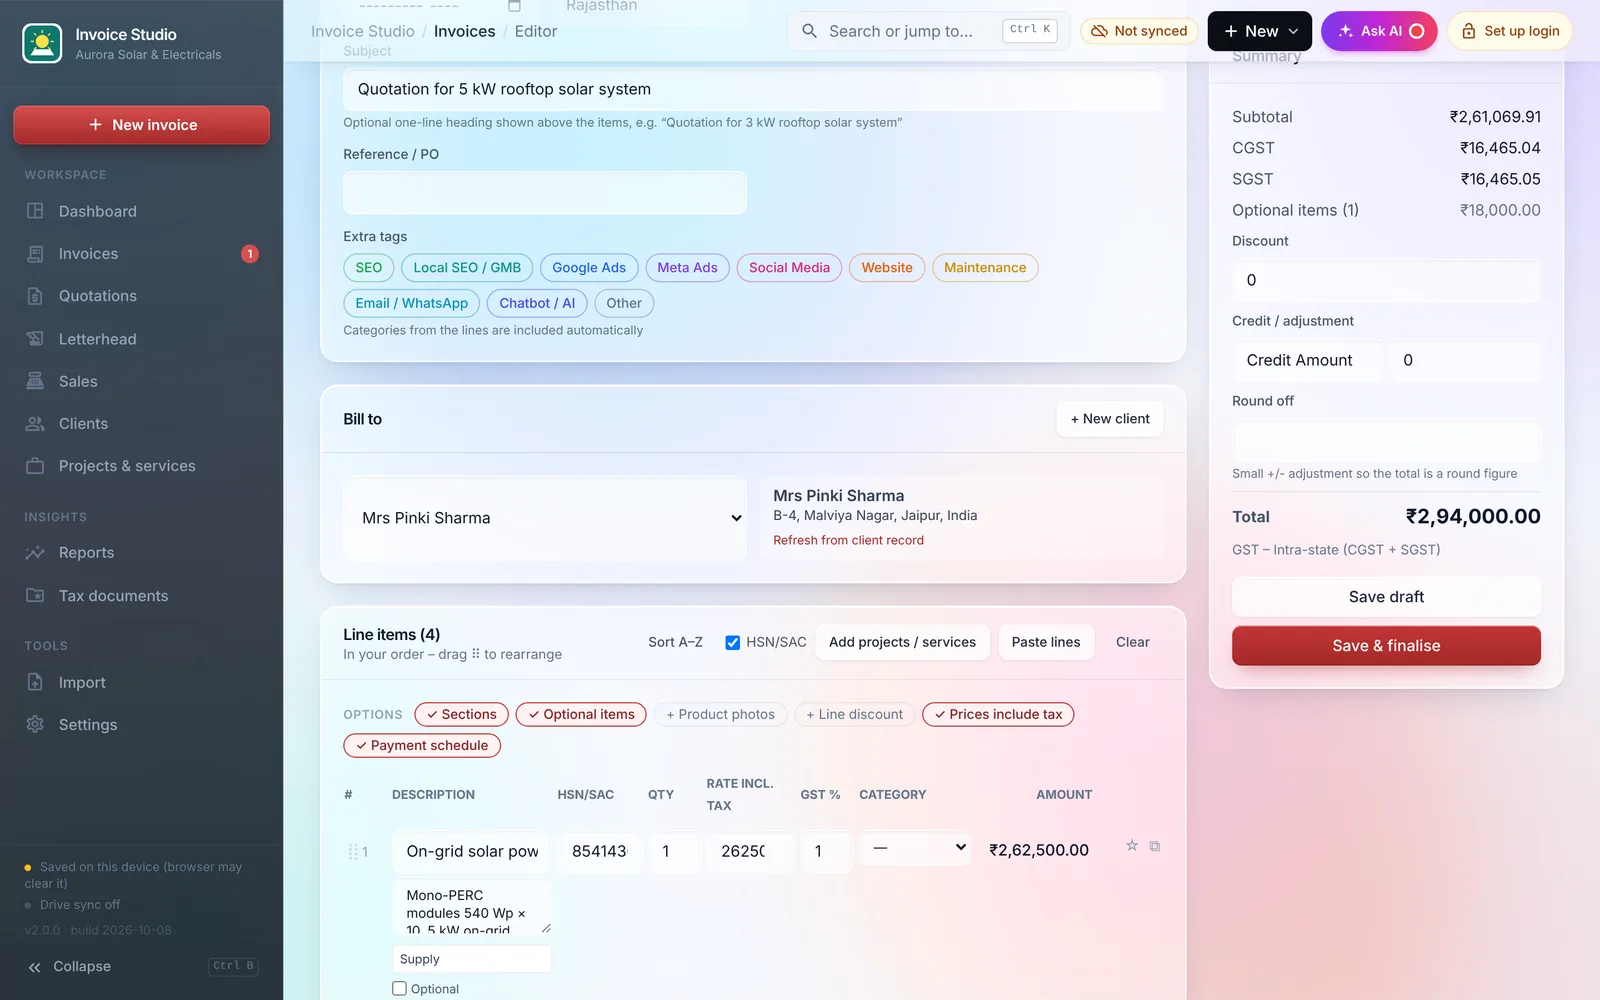
4. Line items that fill themselves
Options sit above the line items as chips – switch on only what this document needs.
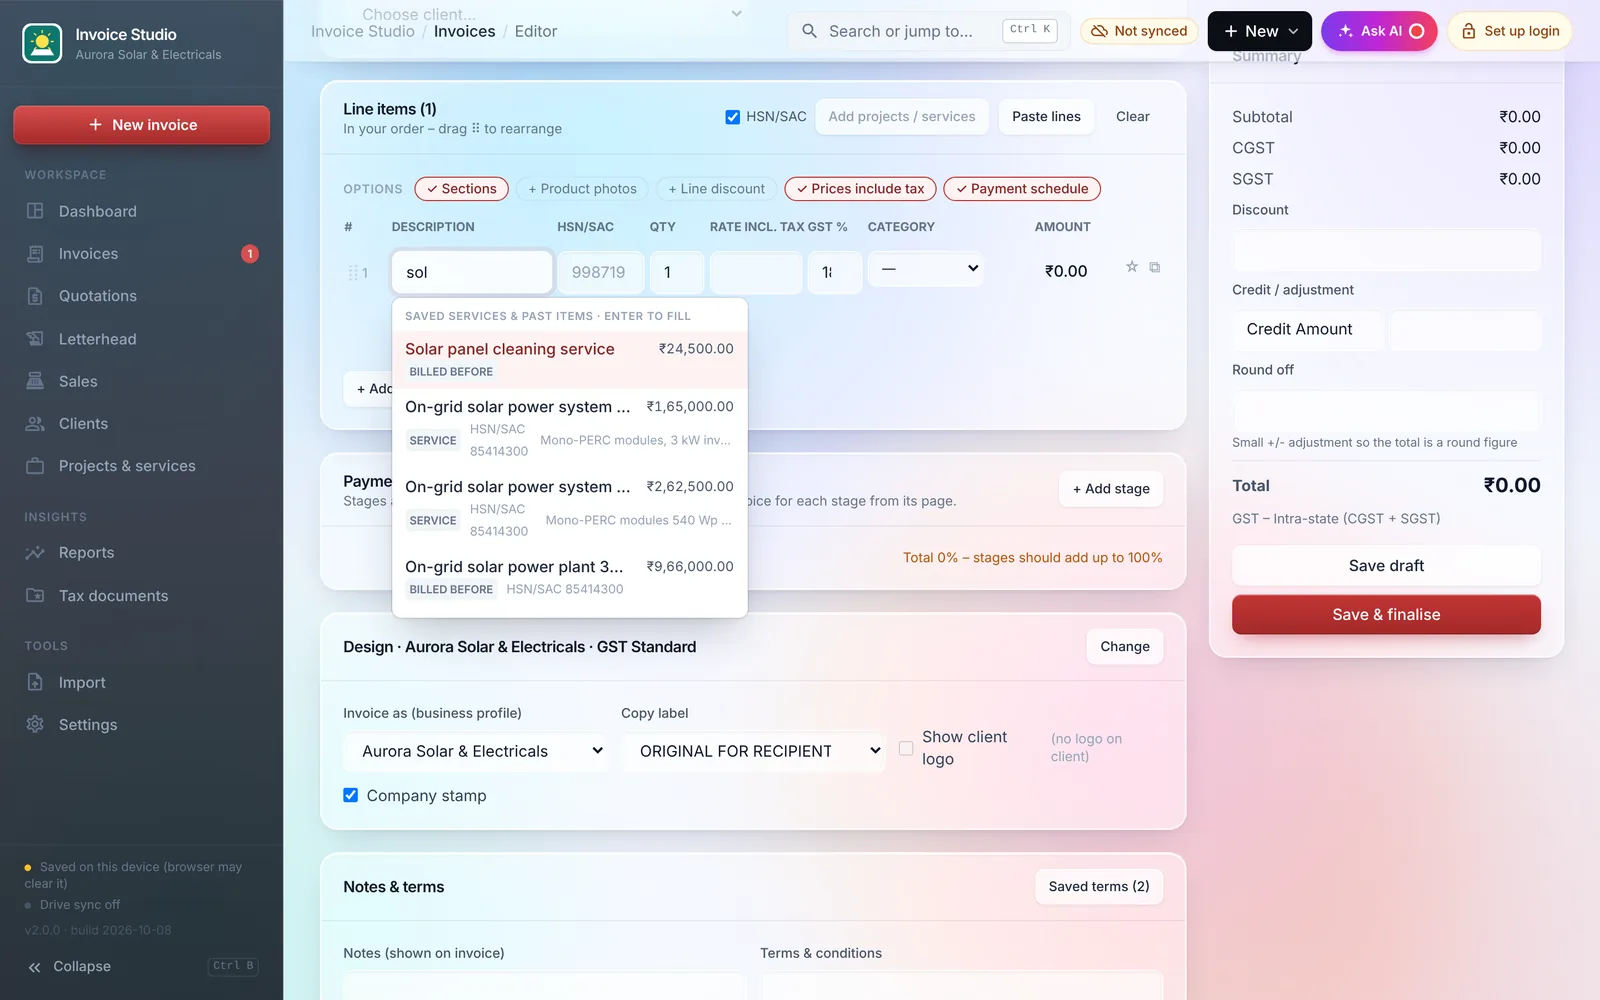
- Type-aheadType a few letters – saved services and anything you billed before appear with price, HSN/SAC and tax. Press Enter to fill.
- ☆ Save as serviceStar a line to reuse it on any document.
- Details“+ details” adds specification lines printed under the item.
- Drag to reorderDrag ⠿ (or press ↑ / ↓). The app then keeps your order; “Sort A–Z” switches back.
- SectionsGroup lines under headings like Supply / Installation with subtotals.
- Optional itemsAdd-ons on a quote that aren’t in the total until the client picks them.
- Product photosA small photo on each line – great for furniture, interiors and trading.
- Line discount & prices incl. taxDiscount % per line; type GST-inclusive prices and the taxable value is worked out, with CGST/SGST per rate.
5. Send, approval links & follow-ups
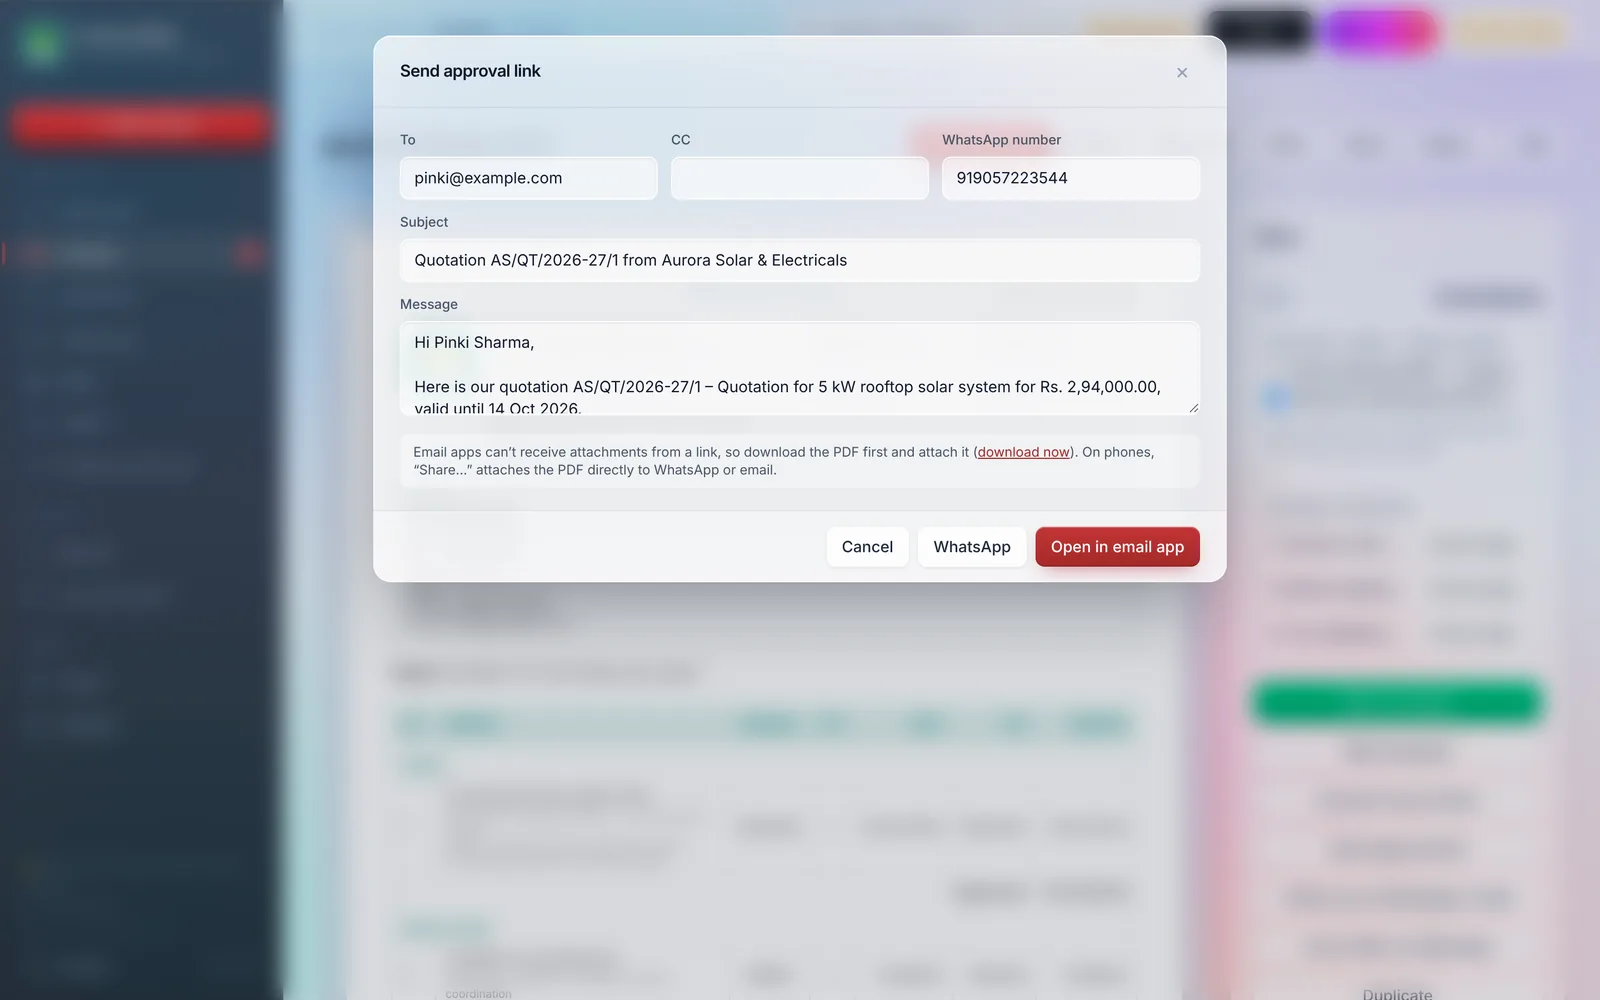
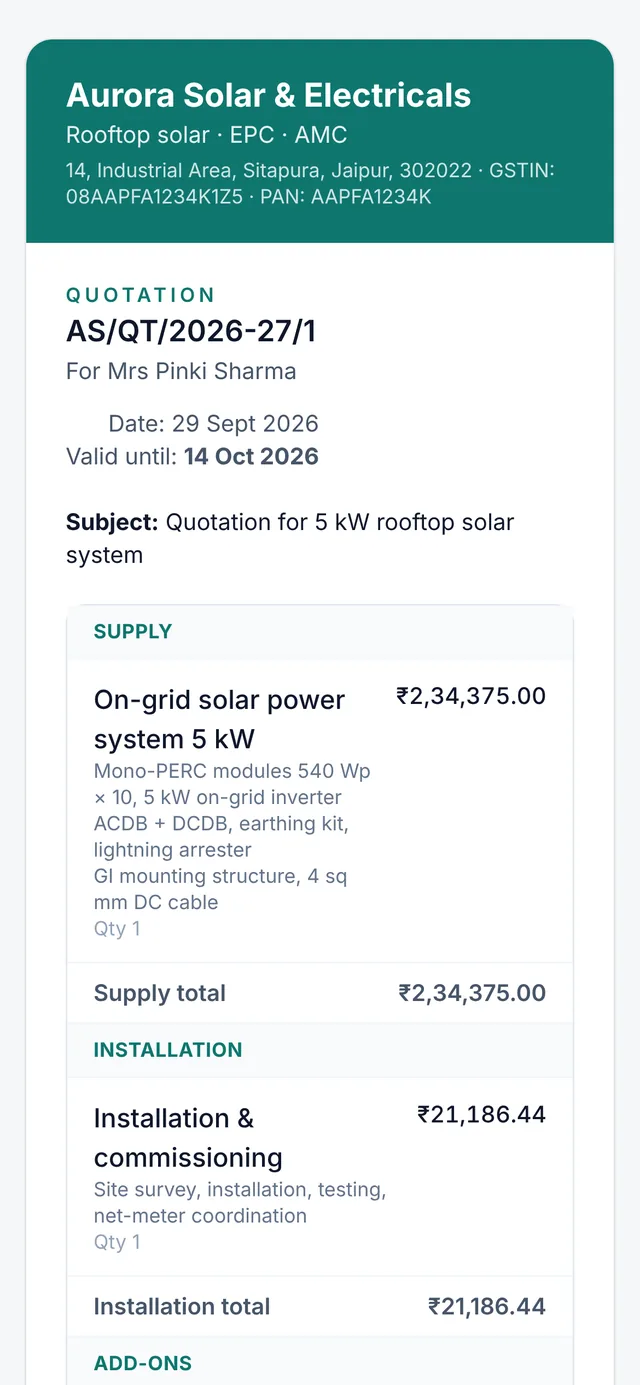
Send a link the client can open on any phone – they see the quote, tick add-ons and accept by WhatsApp or email. Nothing is uploaded anywhere: the quote travels inside the link.
- 1Open a quotation → Send approval link. Check the message and press WhatsApp or Open in email app.
- 2The client sees your quotation, ticks optional items, types their name and taps Accept on WhatsApp or Accept by email.
- 3When the reply arrives, tick the options they chose and press Mark accepted.
- 4Not heard back? Follow up on the Quotations page sends a polite reminder with the link again.
6. Payment schedule & stage invoices
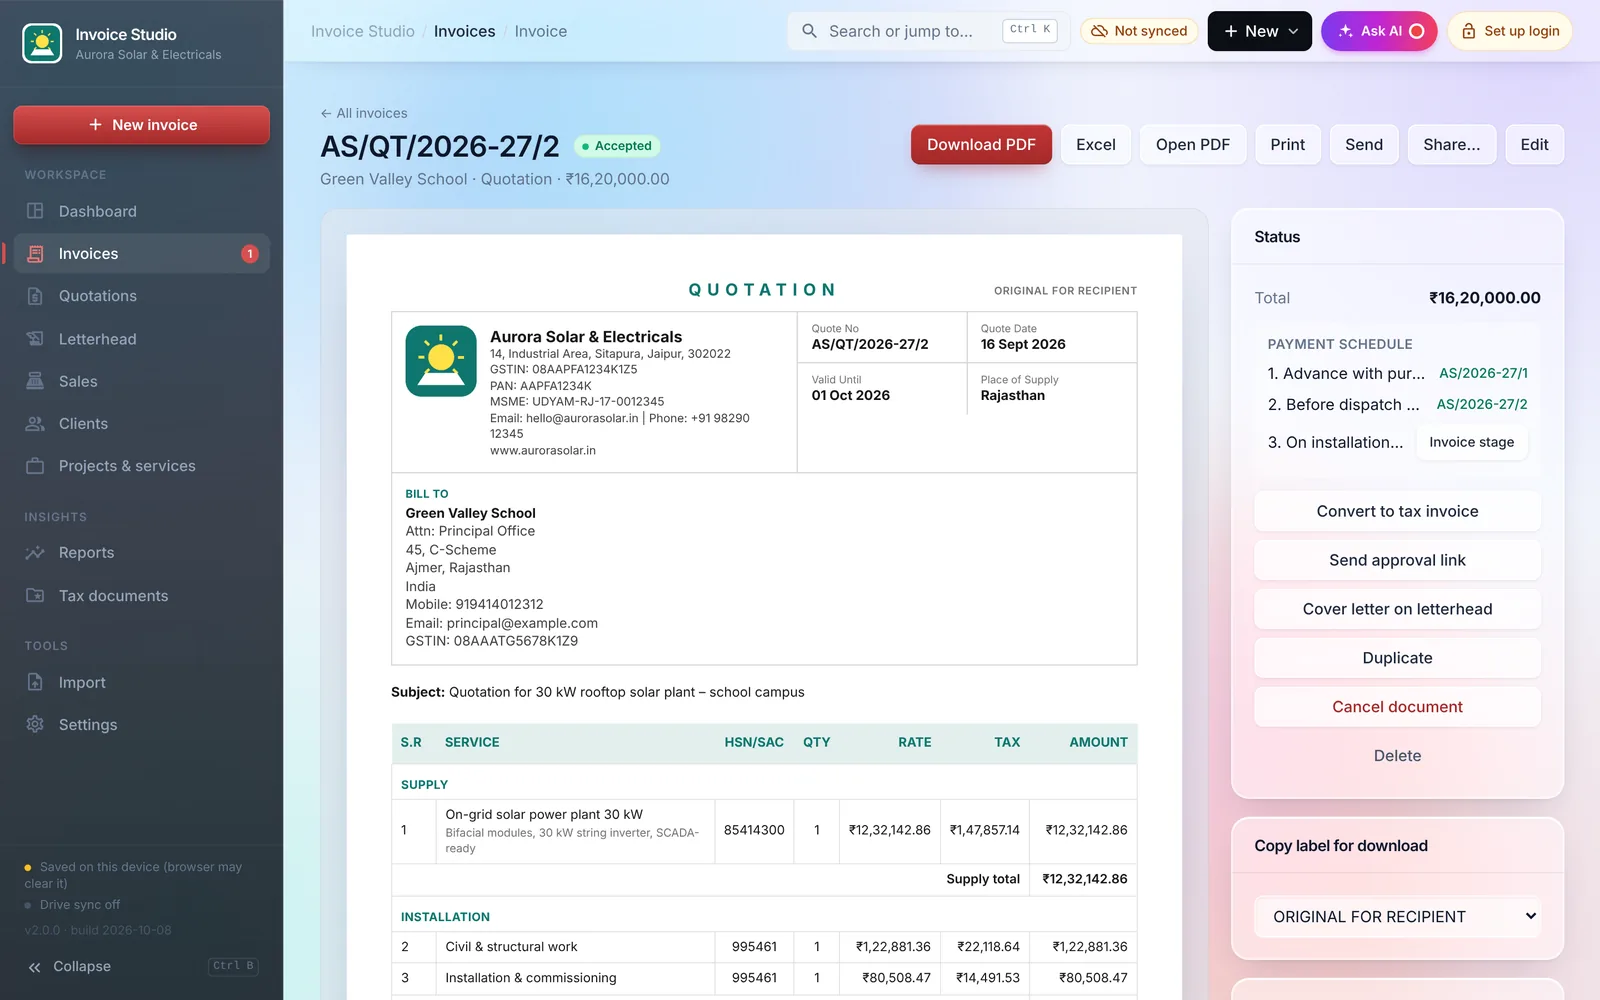
Switch on “Payment schedule” to print stages with amounts. From the saved quotation, raise an invoice for each stage when it’s due.
- 1In the editor, turn on Payment schedule and set the stages (e.g. 25% advance, 70% before dispatch, 5% on commissioning).
- 2Open the saved quotation – each stage has an Invoice stage button. The invoice is created with every line at that stage’s share.
- 3Invoiced stages show their invoice number, so nothing is billed twice.
7. Invoices, payments & GST
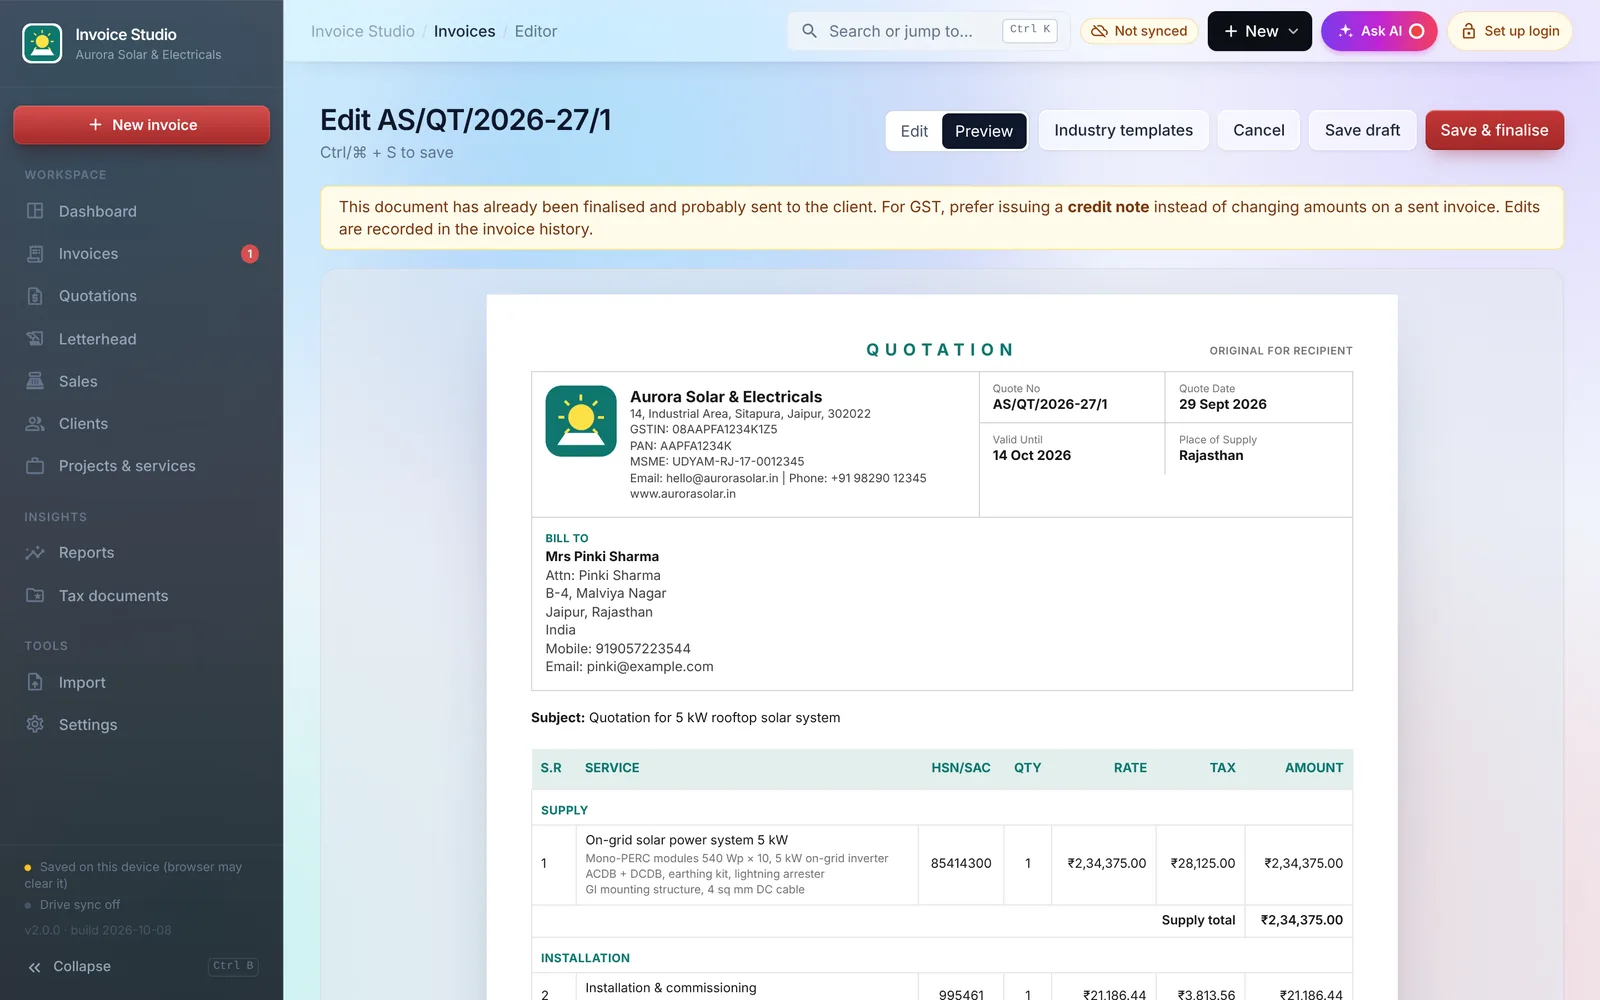
GST (CGST + SGST / IGST), export under LUT, VAT / sales tax, credit notes and proforma invoices – with PDF, Excel and print.
- Tax is chosen for you from where the client is: CGST + SGST in your state, IGST outside, export (LUT) abroad.
- Record payment (with TDS), send payment reminders, issue credit notes, and see what’s overdue on the dashboard.
- Merge several invoices for one client – the new invoice gets a combined number like
AS/2026-27/12-13. - Month-end billing run bills every retainer and logged sale in one go.
- Designs: Executive, Royal, Modern, Elegant (premium) and GST Standard, Clean, Classic, Minimal, Corporate, Compact (simple).
- Import past invoices from PDF, scans, Excel or CSV – the table, client, tax and totals are read automatically.
8. Letterhead & letters
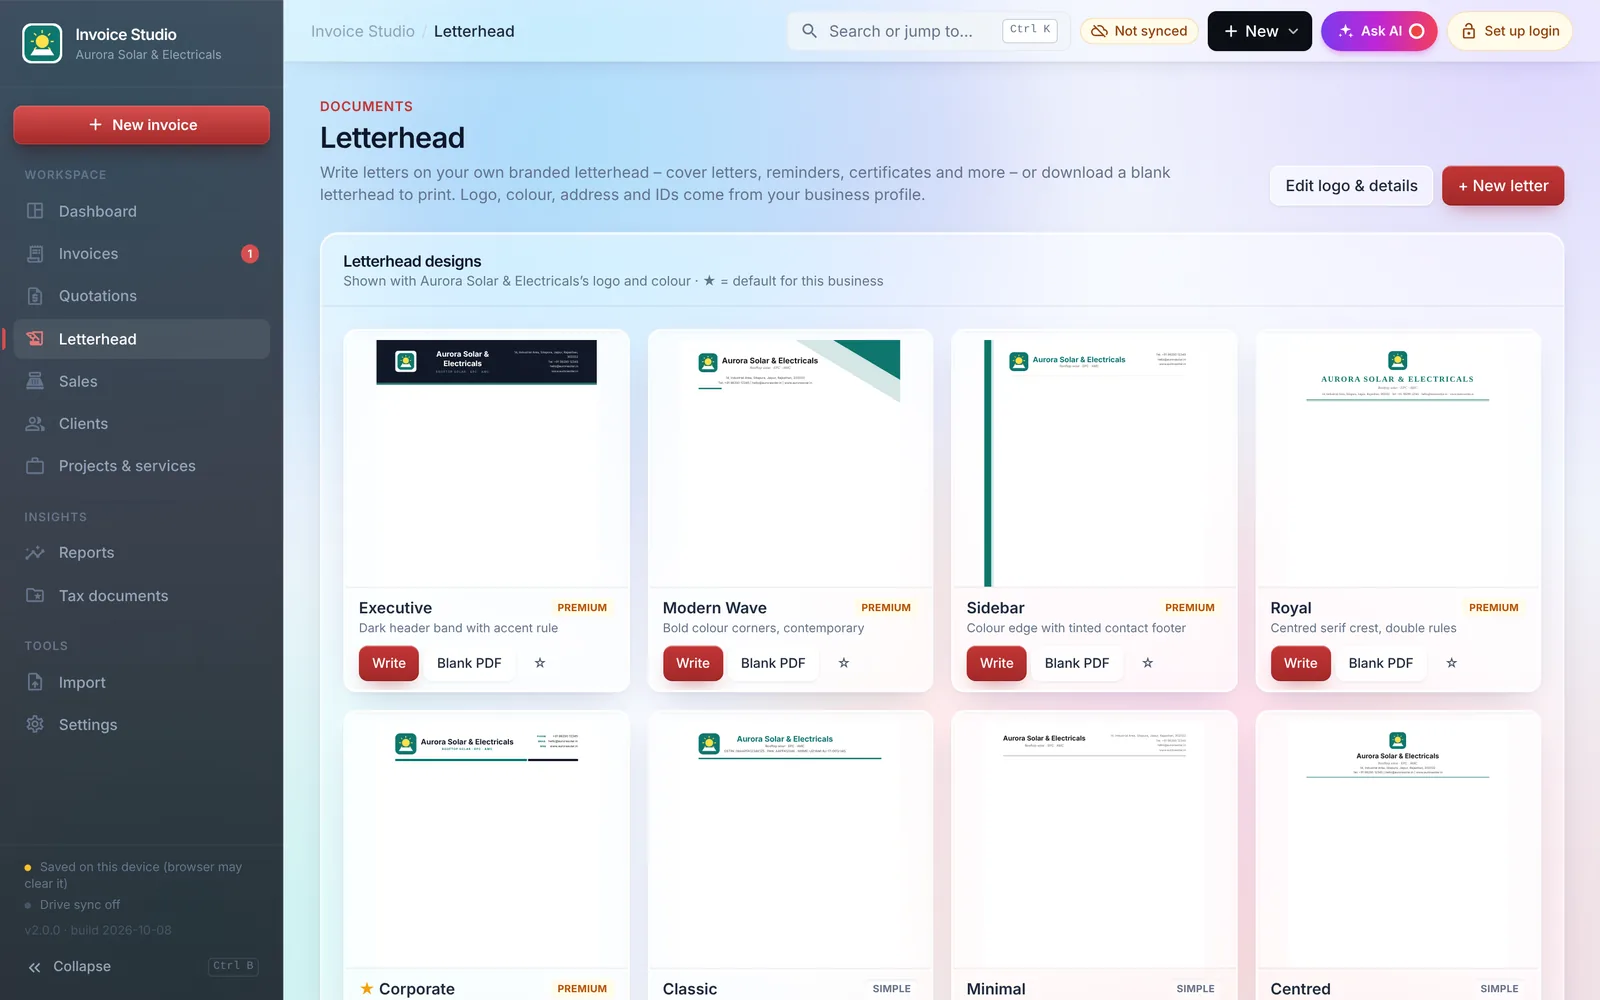
Write on your own letterhead – or download a blank letterhead PDF to print stationery.
- 1Open Letterhead, pick one of 8 designs (Executive, Modern Wave, Sidebar, Royal, Corporate, Classic, Minimal, Centred) and press Write – or Blank PDF for printing.
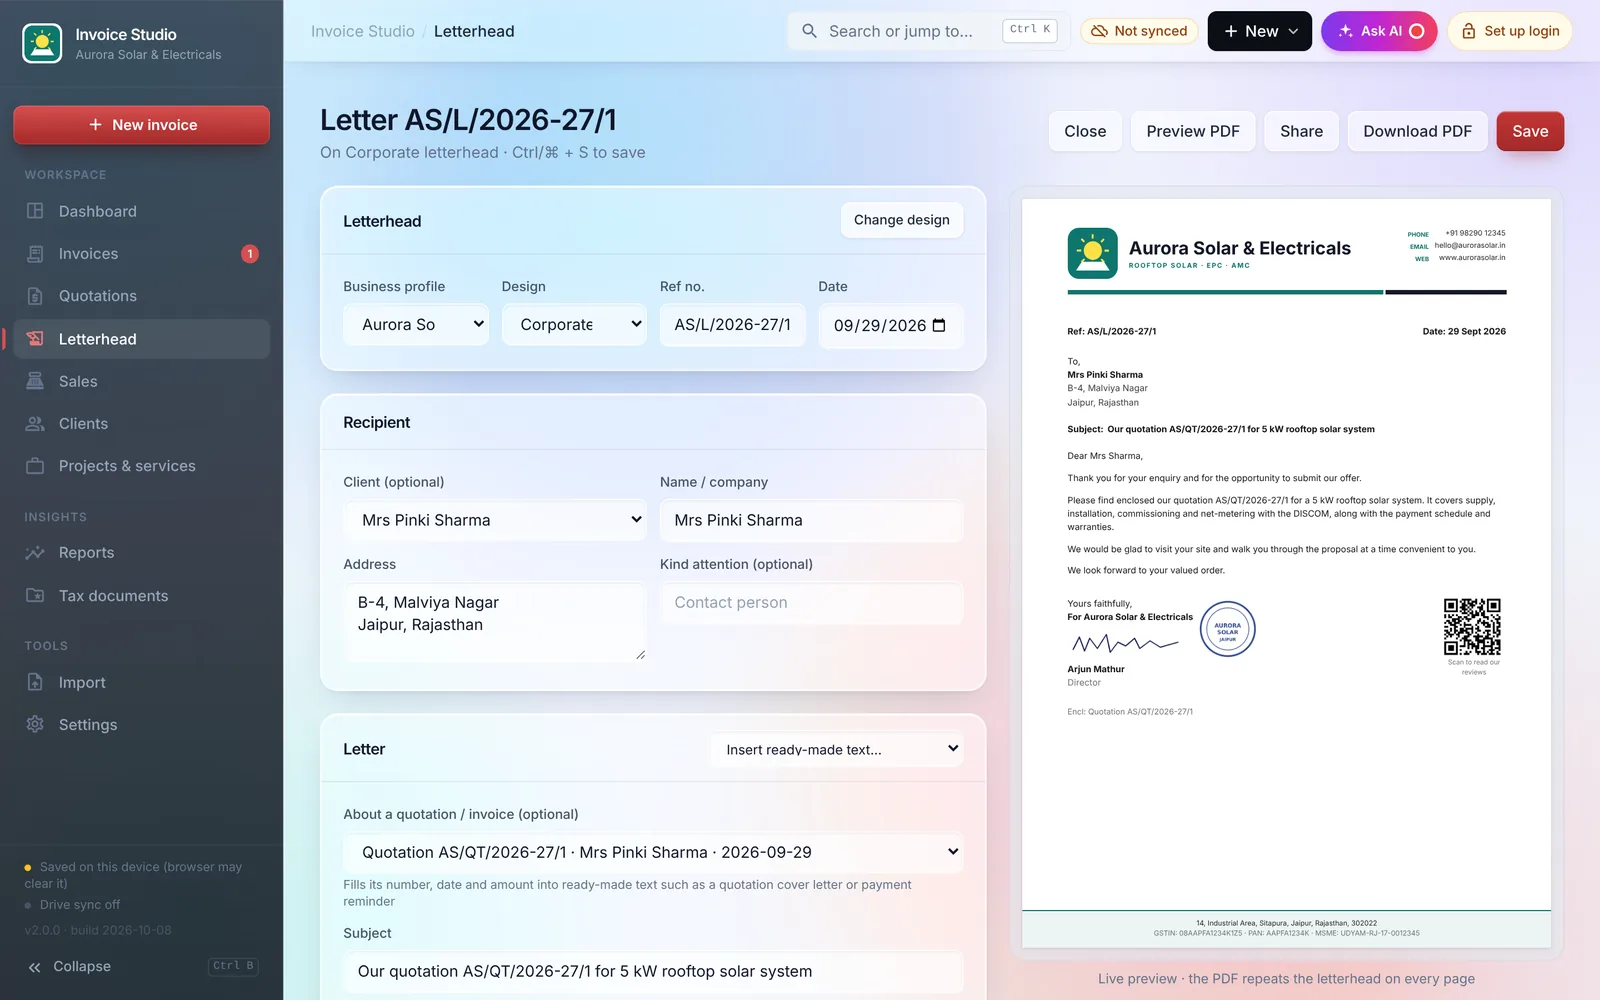
- 2Start from a ready-made letter: quotation cover letter, payment reminder, work completion certificate, offer letter, experience certificate, NOC and more. Client and document details are filled in.
- 3Add your signature, HD stamp, a QR code (website or Google reviews) and a faint logo watermark. Long letters repeat the letterhead on every page.
9. Connect Google Drive (step by step)
Google Drive keeps one data file in your own Drive so every device shows the same data. The app uses Google’s narrow “drive.file” permission – it can only see the file it creates, nothing else in your Drive.
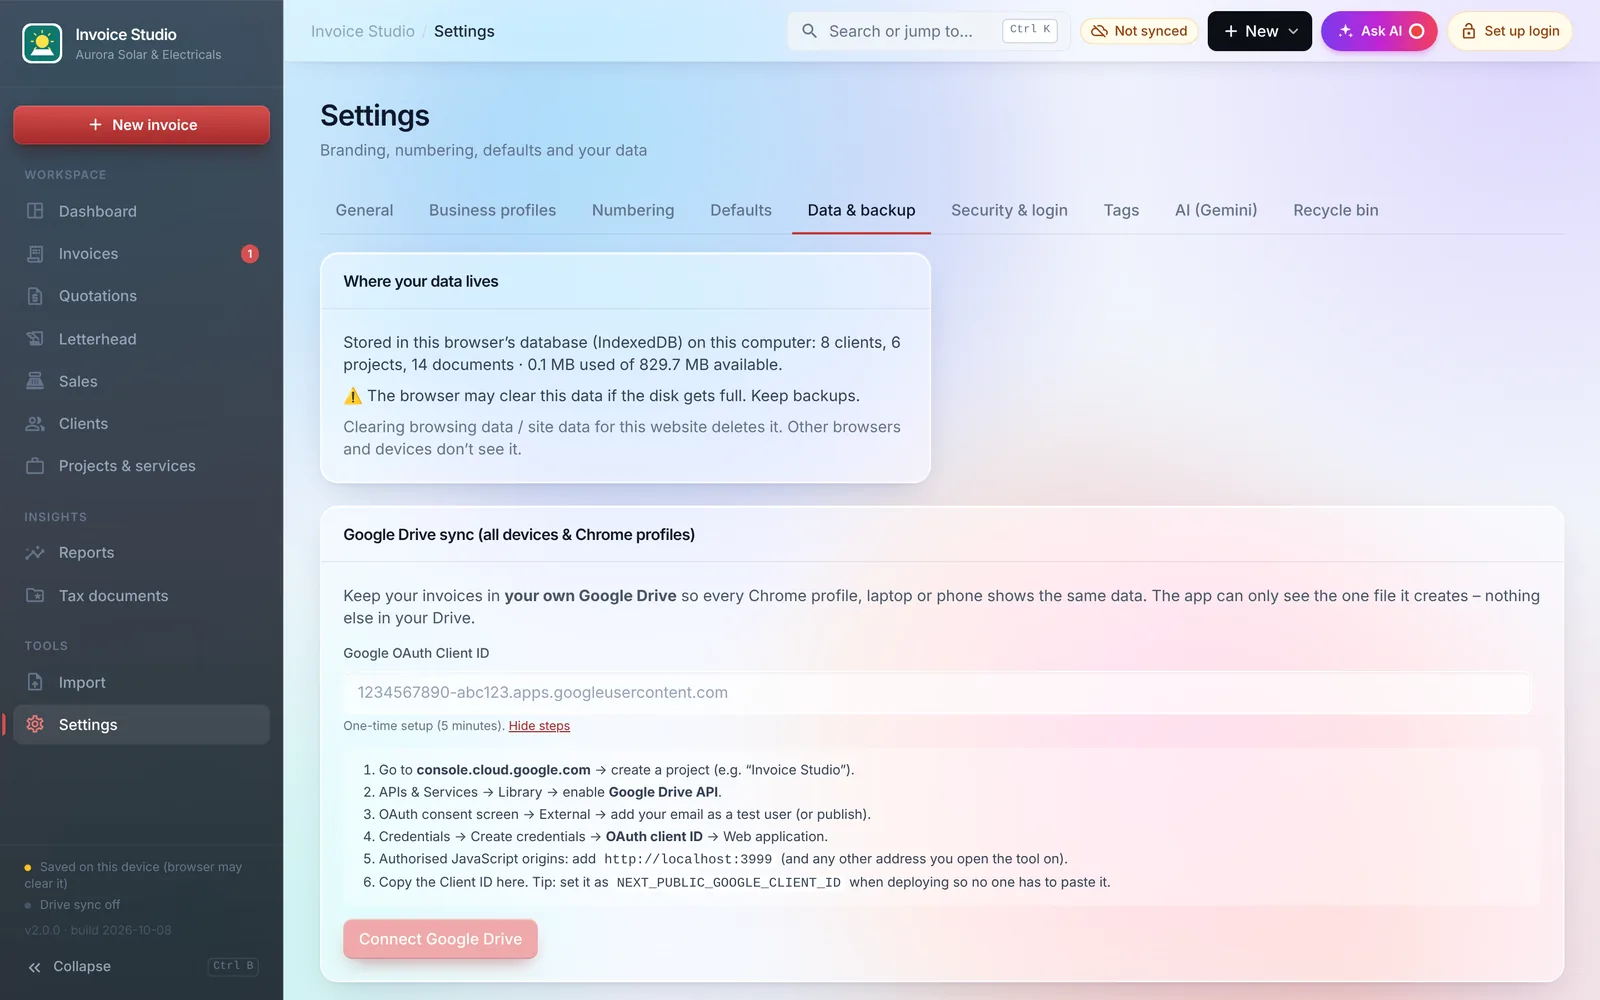
- Settings → Data & backup → Connect Google Drive.
- Choose your Google account and press Allow. Done.
- On your other devices: open the app, press Continue with Google (or Connect Google Drive) with the same Google account – your data appears.
Running your own copy of the app on your own domain? Then create your own Google OAuth Client ID once, as below (about 5 minutes). If the box for a Client ID doesn’t appear in Settings, the site already has one built in.
- 1Go to console.cloud.google.com and sign in with the Google account whose Drive you want to use. Open the project menu → New project → name it “Invoice Studio” → Create.
- 2APIs & Services → Library → search Google Drive API → Enable.
- 3Google Auth Platform (called “OAuth consent screen” in older consoles) → Get started: app name “Invoice Studio”, your support email, audience External, your contact email → Create. Then under Audience → Test users add every Gmail address that will use the app (or press Publish app).
- 4Clients (or Credentials → Create credentials → OAuth client ID) → Application type Web application → under Authorised JavaScript origins add the exact address you open the app on, e.g.
https://your-invoice-site.com(no path, no trailing slash). Addhttp://localhost:3000too if you run it on your computer → Create. - 5Copy the Client ID (it ends with
.apps.googleusercontent.com). You don’t need the client secret. - 6In the app: Settings → Data & backup → Google Drive sync → paste the Client ID → Connect Google Drive → choose your account → Allow.
- 7On your other devices, open the same site and press Connect Google Drive with the same Client ID and Google account. If you use a login, sign in with the same user ID and password to unlock the synced data.
Settings → Data & backup → Google Drive sync → paste the Client ID → Connect Google Drive → choose your Google account → Allow. Done – the screenshot below is the real screen.
| If you see… | Do this |
|---|---|
| “Error 400: origin_mismatch” / “not a valid origin” | Add the exact address from your browser’s address bar (https://… with no path) to Authorised JavaScript origins. Changes can take a few minutes. |
| “Access blocked: app has not completed verification” | Add your Gmail under Audience → Test users, or publish the app. |
| The Google window doesn’t open | Allow pop-ups for the site and try again. |
| Another device shows “needs your login” | Sign in with the same user ID and password used on the first device – the Drive file is encrypted with it. |
| You don’t want anyone to paste a Client ID | Whoever hosts the site can set NEXT_PUBLIC_GOOGLE_CLIENT_ID when building it – the Connect button then works straight away. |
10. Backups, login & security
There is no server holding your data – so you are in control of where copies live.
- Login with Google (Settings → Security): your data is encrypted, and opens on any device where you sign in with the same Google account. Add family or staff the same way.
- Login with a user ID and password: also encrypts everything on this device, in Google Drive and in backups. There is no password reset – write it down, or add Google sign-in as a spare way in.
- Your account (Settings → General): your plan and renewal date. Only your account details reach our server – never your invoices.
- Download backup (Settings → Data & backup) saves one .json file you can restore anywhere.
- Auto-backup file (Chrome / Edge): pick a file in your Google Drive / OneDrive / Dropbox folder and every change is written to it.
- Recycle bin: deleted items stay for 30 days and can be restored.
11. Shortcuts & tips
- Ctrl/⌘ + K – search everything and jump anywhere
- Ctrl/⌘ + S – save the document or letter
- Ctrl/⌘ + B – collapse the sidebar
- Settings → General → rename the tool to your own brand
- Install it like an app: browser menu → “Install” / “Add to Home screen”
- Works on phones – share PDFs straight to WhatsApp
What’s new
- Redesigned sign-in and first-run screens
- Google sign-in button fits small phone screens
- Much lighter on your device: the Liquid glass background no longer moves, so the app stops working the graphics chip while you sit on a page
- Home page animations pause when they're off screen
- Admin panel shows a clear message instead of crashing when the account server can't be reached
- Continue with Google – sign in and unlock your data on any device, no password needed
- Connect Google Drive in one click – no Client ID to set up
- Your account: plan and renewal date in Settings
- Privacy policy page
- Quotations with 12 industry templates, approval links, follow-ups and a quote → invoice funnel
- Business type on each profile – only the options your business needs
- Sections, optional add-ons, product photos, line discounts and tax-inclusive prices
- Payment schedules with one invoice per stage
- Letterhead: 8 designs, ready-made letters, QR code, watermark
- HD company stamp and signature with one-click background removal
- Type-ahead services, drag-to-reorder lines, saved terms library
- Combined numbers when merging invoices, per-rate GST rows
- GST / VAT / export invoices, credit notes and proformas
- Automatic import of past invoices (PDF, scans, Excel)
- Google Drive sync, login with encryption, reports and tax documents vault